How to Use Google Gemini with Node.js App
A Complete Beginner's Guide

Hey 👋🏻,
I am Arindam Majumder, a Software Engineer from India. I am interested in, write about, and develop (open source) software solutions for and with Next.js, JavaScript, ReactJs, and Python.
📬 Get in touch
Twitter: twitter.com/Arindam_1729 Blog: dev.to/arindam_1729 YouTube: youtube.com/@Arindam_1729 LinkedIn: linkedin.com/in/arindam2004 GitHub: github.com/Arindam200
📧 Sign up for my newsletter.
Introduction
Generative AI has been the hot topic in tech over the past year. Everyone is building cool projects using it. Google has its own generative AI, called Gemini.
Recently, Google launched its APIs for Gemini developers. This comes with several libraries and frameworks that developers can use to incorporate into their applications.
In this Article, we'll be building a simple Node.js application and integrate Google Gemini to it. We will be using the Google Gemini SDK for it.
So,Without delaying further Let's START!
What is Gemini?
Google Gemini is a powerful and multifaceted AI model developed by Google AI. Gemini doesn’t just handle text; it can understand and operate across various formats like code, audio, images, and video. This opens up exciting possibilities for your Node.js projects.
Project Setup:
1. Create Node.js Project:
To start our project, we need to set up a Node.js environment. So, let's create a node project. Run the Following command in the Terminal.
npm init
This will initialize a new Node.js project.
2. Install Dependencies:
Now, We'll install the required dependencies of our project.
npm install express body-parser @google/generative-ai dotenv
This will install the following packages:
express: a popular web framework for Node.js
body-parser: middleware for parsing request bodies
@google/generative-ai: a package for accessing the Gemini model
dotenv: loads environment variables from a .env file
3. Setup Environment Variables:
Next, we'll create a .env folder to securely store our sensitive information such as API credentials.
//.env
API_KEY=YOUR_API_KEY
PORT=3000
4. Get API Key:
Before using Gemini, we need to set up API credentials from Google Developers Console. For that, We need to sign up on our Google account and create an API key.
Once signed in, Go to https://makersuite.google.com/app/apikey. We'll get something like this:
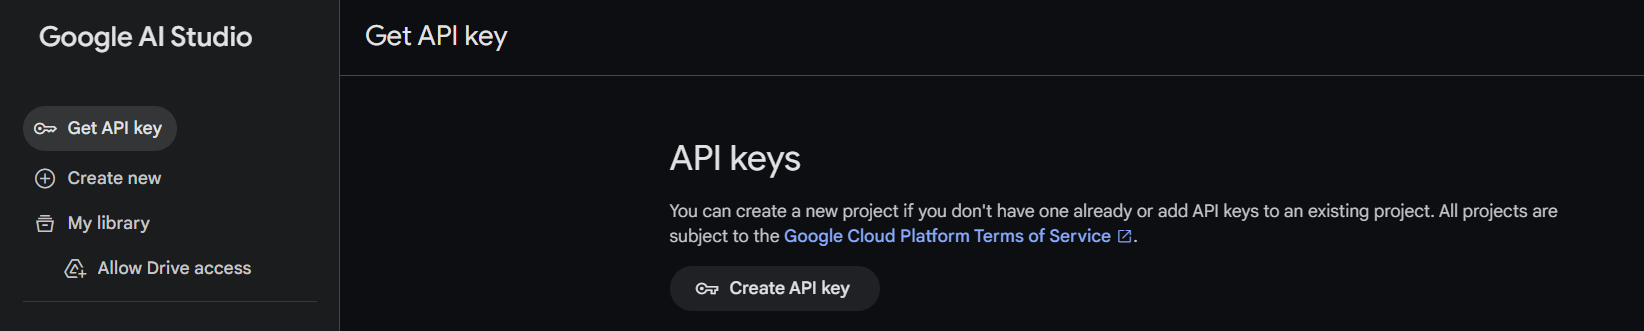
Then We'll click on the Create API key button. This will generate a unique API key that we'll use to authenticate requests to the Google Generative AI API.
To Test your API you can run th following Curl Commmand:
curl \
  -H 'Content-Type: application/json' \
  -d '{"contents":[{"parts":[{"text":"Write a story about a magic backpack"}]}]}' \
  -X POST https://generativelanguage.googleapis.com/v1beta/models/gemini-pro:generateContent?key=YOUR_API_KEY
Replace
YOUR_API_KEYwith the actual API key that we got before.
After getting the API key we'll update the .env file with our API key.
5. Create Express Server:
Now, we'll create a index.js file in the root directory and set up a basic express server. See the following code:
const express = require("express");
const dotenv = require("dotenv");

dotenv.config();

const app = express();
const port = process.env.PORT;

app.get("/", (req, res) => {
  res.send("Hello World");
});

app.listen(port, () => {
  console.log(`Server running on port ${port}`);
});
Here, We're using the "dotenv" package to access the PORT number from the .env file.
At the top of the project, we're loading environment variables using dotenv.config() to make it accessible throughout the file.
6. Run Project:
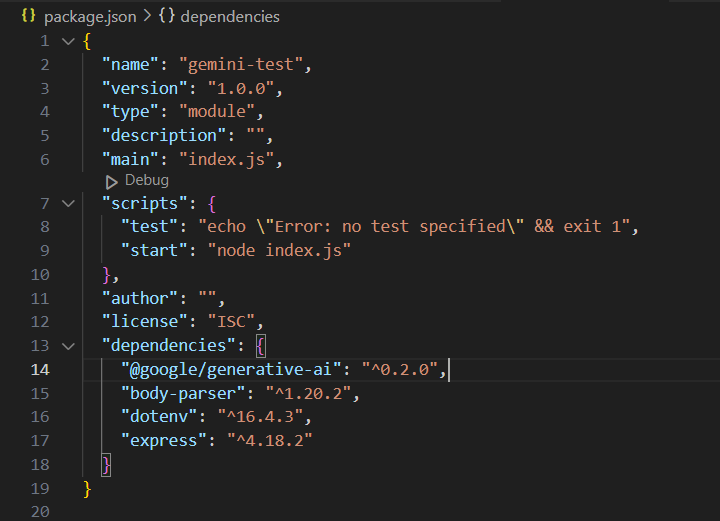
In this step, we'll add a start script to the package.json file to easily run our project.
So, Add the following script to the package.json file.
"scripts": {
  "start": "node index.js"
}
The package.json file should look like this:
To check whether everything is working or not, let's run the project using the following command:
npm run start
This will start the Express server. Now if we go to this URL http://localhost:3000/ we'll get this:
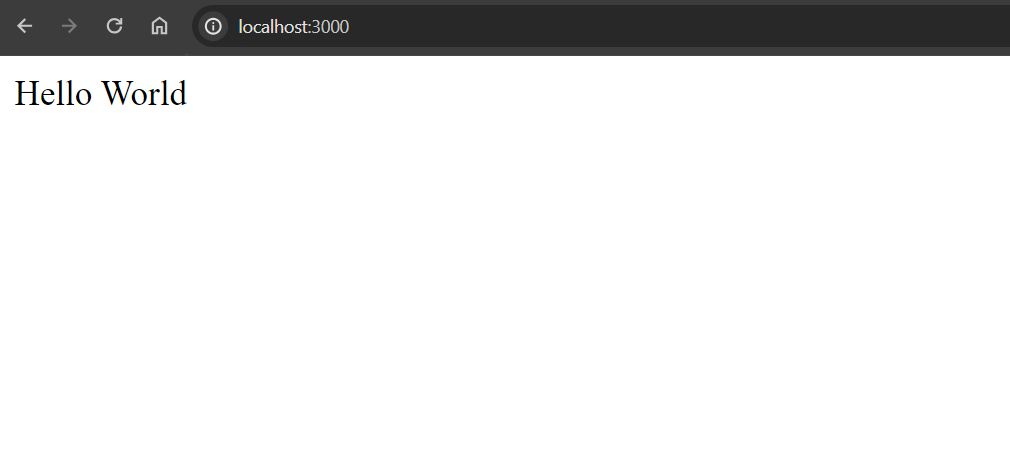
Awesome! The Project setup is done and it's working perfectly. Next up, we'll add Gemini to our project in the next section
Adding Google Gemini:
1. Set up Route and Middleware:
To add the Gemini to our project, We'll create a /generate route where we'll communicate with the Gemini AI.
For that add the following code into the index.js file.
const bodyParser = require("body-parser");
const { generateResponse } = require("./controllers/index.js");

//middleware to parse the body content to JSON
app.use(bodyParser.json());

app.post("/generate", generateResponse);
Here, We're using a body-parser middleware to parse the content into a JSON format.
2. Configure Google Generative AI:
Now, We'll create a controller folder and inside that, we'll create a index.js file. Here, we will create a new controller function to handle the generated route declared in the above code.
const { GoogleGenerativeAI } = require("@google/generative-ai");
const dotenv = require("dotenv");

dotenv.config();

// GoogleGenerativeAI required config
const configuration = new GoogleGenerativeAI(process.env.API_KEY);

// Model initialization
const modelId = "gemini-pro";
const model = configuration.getGenerativeModel({ model: modelId });
Here, we are creating a configuration object for the Google Generative AI API by passing the API key from the environment variables.
Then, we're Initializing the model by providing the model ID ("gemini-pro") to the getGenerativeModel method of the configuration object.
Model Configurations:
We can also configure the model parameters according to our convenience
These parameter values that control how the model generates a response.
Example:
const generationConfig = {
  stopSequences: ["red"],
  maxOutputTokens: 200,
  temperature: 0.9,
  topP: 0.1,
  topK: 16,
};

const model = configuration.getGenerativeModel({ model: modelId, generationConfig });
Security Settings:
We can use safety settings to prevent getting harmful responses. By default, safety settings are configured to block content with a medium to high probability of being unsafe across various dimensions.
Here's an example for that:
const { HarmBlockThreshold, HarmCategory } = require("@google/generative-ai");

const safetySettings = [
  {
    category: HarmCategory.HARM_CATEGORY_HARASSMENT,
    threshold: HarmBlockThreshold.BLOCK_ONLY_HIGH,
  },
  {
    category: HarmCategory.HARM_CATEGORY_HATE_SPEECH,
    threshold: HarmBlockThreshold.BLOCK_MEDIUM_AND_ABOVE,
  },
];

const model = genAI.getGenerativeModel({ model: "MODEL_NAME", safetySettings });
With these safety settings, we can enhance security by minimizing the likelihood of harmful content generation.
3. Manage Conversation History:
To keep track of the conversation history, we've created an array history and exported it from the controller file:
export const history = [];
4. Implement Controller Function:
Now, we'll write a controller function generateResponse to handle the generation route (/generate) and generate a response to User requests.
/**
 * Generates a response based on the given prompt.
 * @param {Object} req - The request object.
 * @param {Object} res - The response object.
 * @returns {Promise} - A promise that resolves when the response is sent.
 */
export const generateResponse = async (req, res) => {
  try {
    const { prompt } = req.body;

    const result = await model.generateContent(prompt);
    const response = await result.response;
    const text = response.text();
    console.log(text);

    history.push(text);
    console.log(history);

    res.send({ response: text });
  } catch (err) {
    console.error(err);
    res.status(500).json({ message: "Internal server error" });
  }
};
Here we are taking the prompt from the request body and generating a response based on the prompt using the model.generateContent method.
And to keep track of the responses, We are pushing the responses to the history array.
5. Check Response History:
Now, We'll create a route to check the history of our responses. This endpoint returns the history array.
Add the simple code to the ./index.js folder.
app.get("/generate", (req, res) => {
  res.send(history);
});
And we are Done!
6. Run the project:
Now, we have to check if our app is working correctly or not!
Let's run our project using:
npm run start
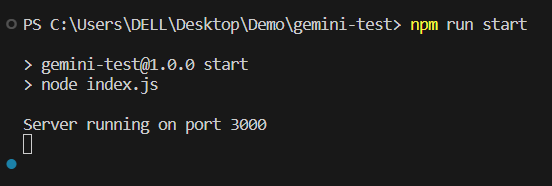
No errors! Thank God! : ) It's working correctly.
7. Check Functionality
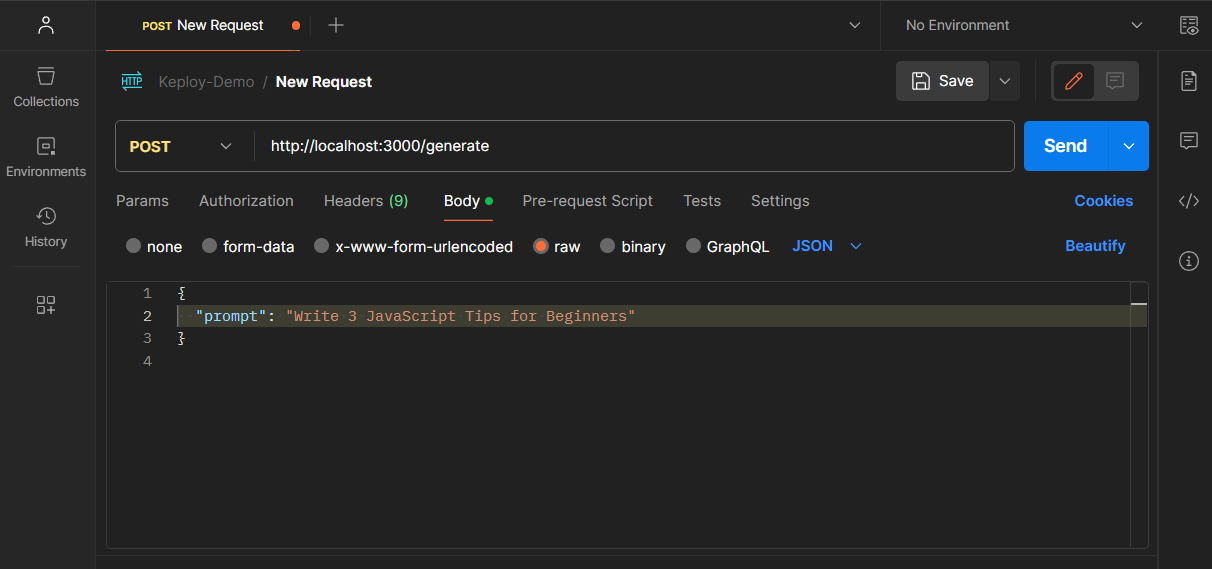
Next, we'll make a Post request using Postman to validate our controller function.
We'll send a POST request to http://localhost:3000/generate with the following JSON payload:
{
  "prompt": "Write 3 Javascript Tips for Beginners"
}
And We got our response:
{
    "response": "1. **Use console.log() for Debugging:**\n   - console.log() is a useful tool for debugging your JavaScript code. It allows you to inspect the values of variables and expressions, and to see how your code is executing. This can be especially helpful when you encounter errors or unexpected behavior in your program.\n\n2. **Learn the Basics of Data Types:**\n   - JavaScript has several built-in data types, including strings, numbers, booleans, and objects. Understanding the properties and behaviors of each data type is crucial for writing effective code. For instance, strings can be manipulated using string methods, while numbers can be used in mathematical operations.\n\n3. **Use Strict Mode:**\n   - Strict mode is a way to opt-in to a restricted and secure subset of JavaScript. It helps you to write more secure and reliable code, as it throws errors for common mistakes that would otherwise go unnoticed in regular JavaScript mode. To enable strict mode, simply add \"use strict;\" at the beginning of your JavaScript file or module."
}
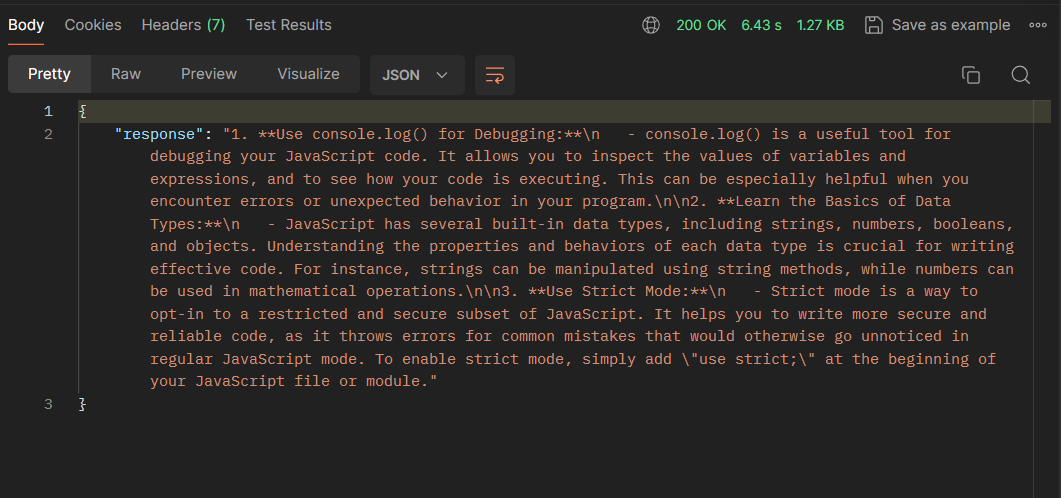
Great! Our Gemini AI integration is Working as expected!
Additionally, we can access the history endpoint at http://localhost:3000/generate to review the conversation history.
With that, We have integrated Gemini AI into our Node.js app. In the following articles, we'll explore more use cases with Gemini AI.
Till then, Stay Tuned!
Conclusion
If you found this blog post helpful, please consider sharing it with others who might benefit. You can also follow me for more content on Javascript, React, and other web Development topics.
To sponsor my work, please visit: Arindam's Sponsor Page and explore the various sponsorship options.
Connect with me on Twitter, LinkedIn, Youtube and GitHub.
Thank you for Reading :)