

Introduction
We, developers always love to play with APIs to automate our boring activities. And With Discords API we can automate those stuff using Discord bots.
In this article, we'll explore How to create a Discord bot using NodeJs and also Add a few functionalities to it!
Sounds Interesting?
So, Without delaying Further, Let's START!

What is Discord?

Discord is a popular instant messaging application. Originally designed for gamers, it has evolved into a versatile space for communities to connect and collaborate in real-time.
If you’re familiar with Discord, you may have noticed the presence of a Bot. Discord Bots can perform various actions such as sending messages to servers, DM-ing users, moderating servers, and playing audio in voice chats.
Setting up a Discord bot:
In this section, We'll be setting up our Discord bot! We will use Discord developer's graphical user interface (GUI) to set up a Discord bot.
So First, Let's go to the Discord Application Dashboard. Here we'll see the following interface!
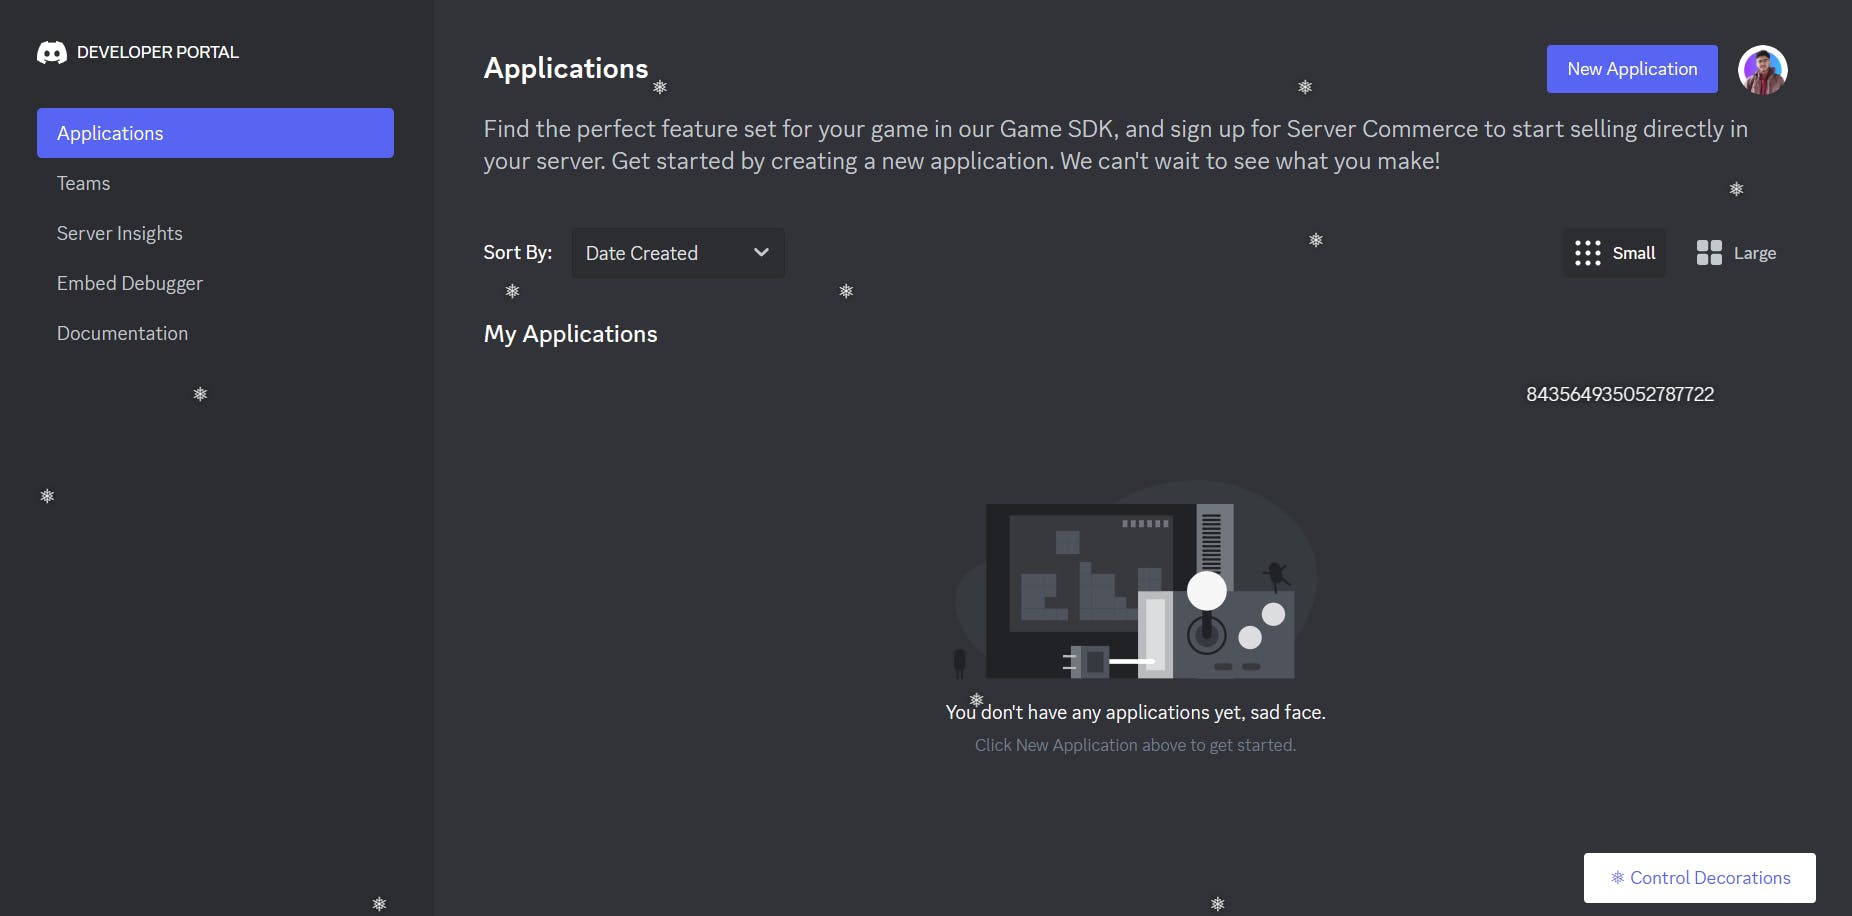
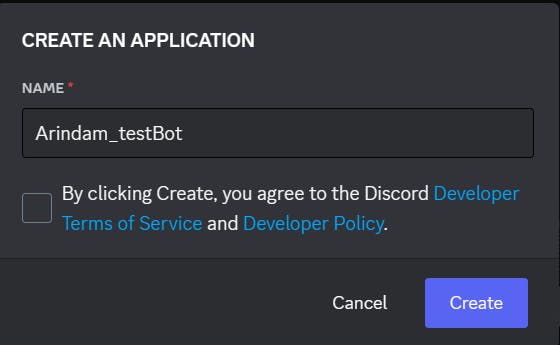
To get started, We will click the New Application button and then Discord will ask us to enter a name for our new application.
For this Article, I'm taking the name as Arindam_testBot . After that click the Create button!
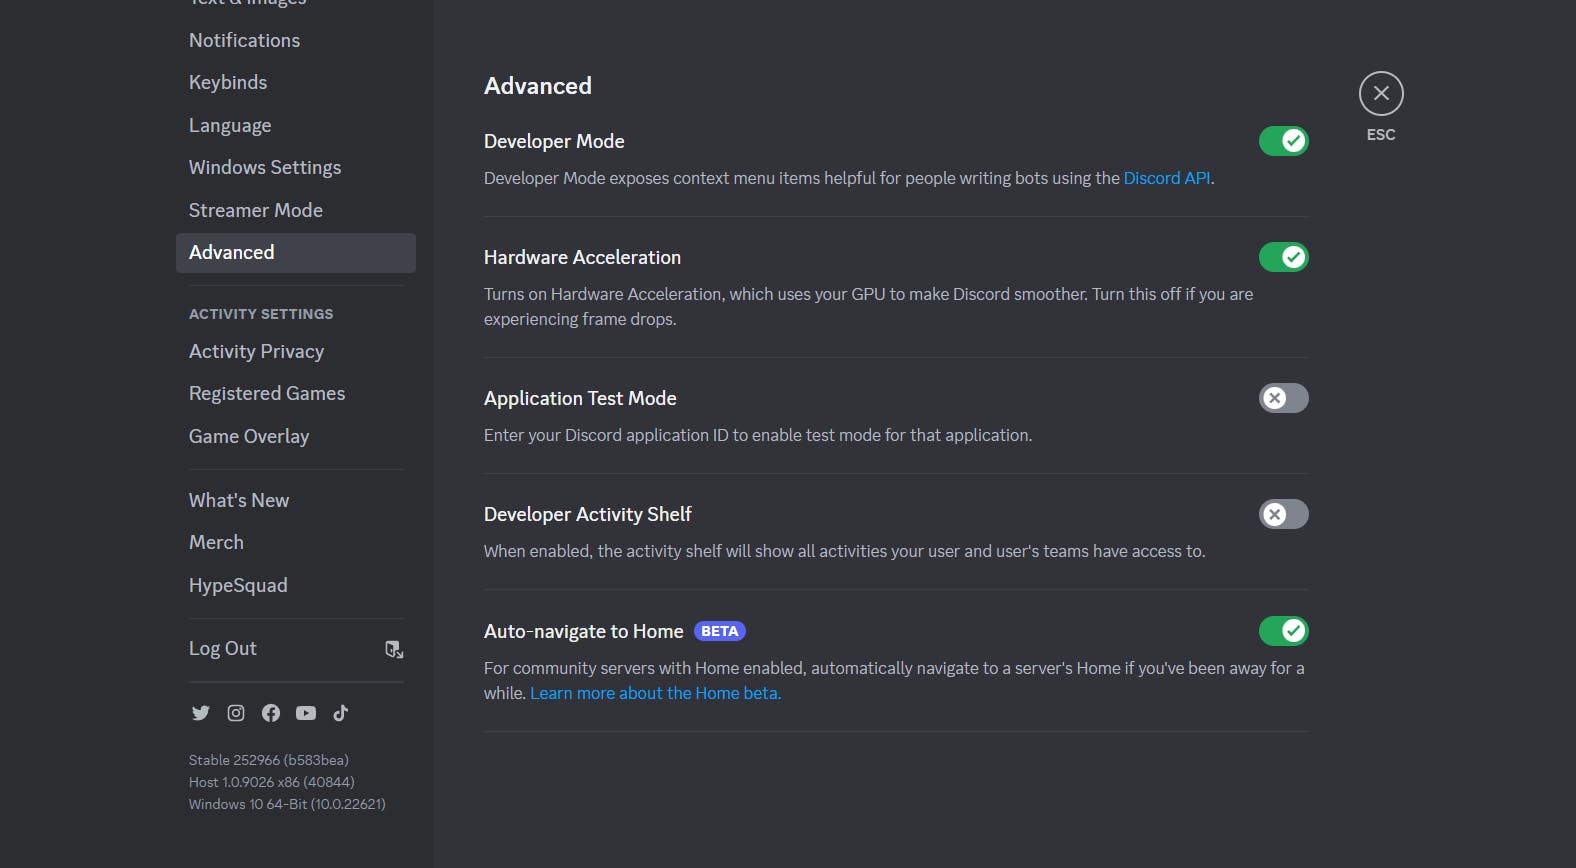
Before Moving further We have to allow one setting in our Discord. We will turn on the Developer Mode so that we can create Discord bots.
Next, We'll add the bot to the server. So, we'll create an invite to add the bot to a Discord guild/server.
We'll get the URL Generator page in the OAuth2 tab. To create the link, we have to select the bot option under the scopes and we'll get the link.
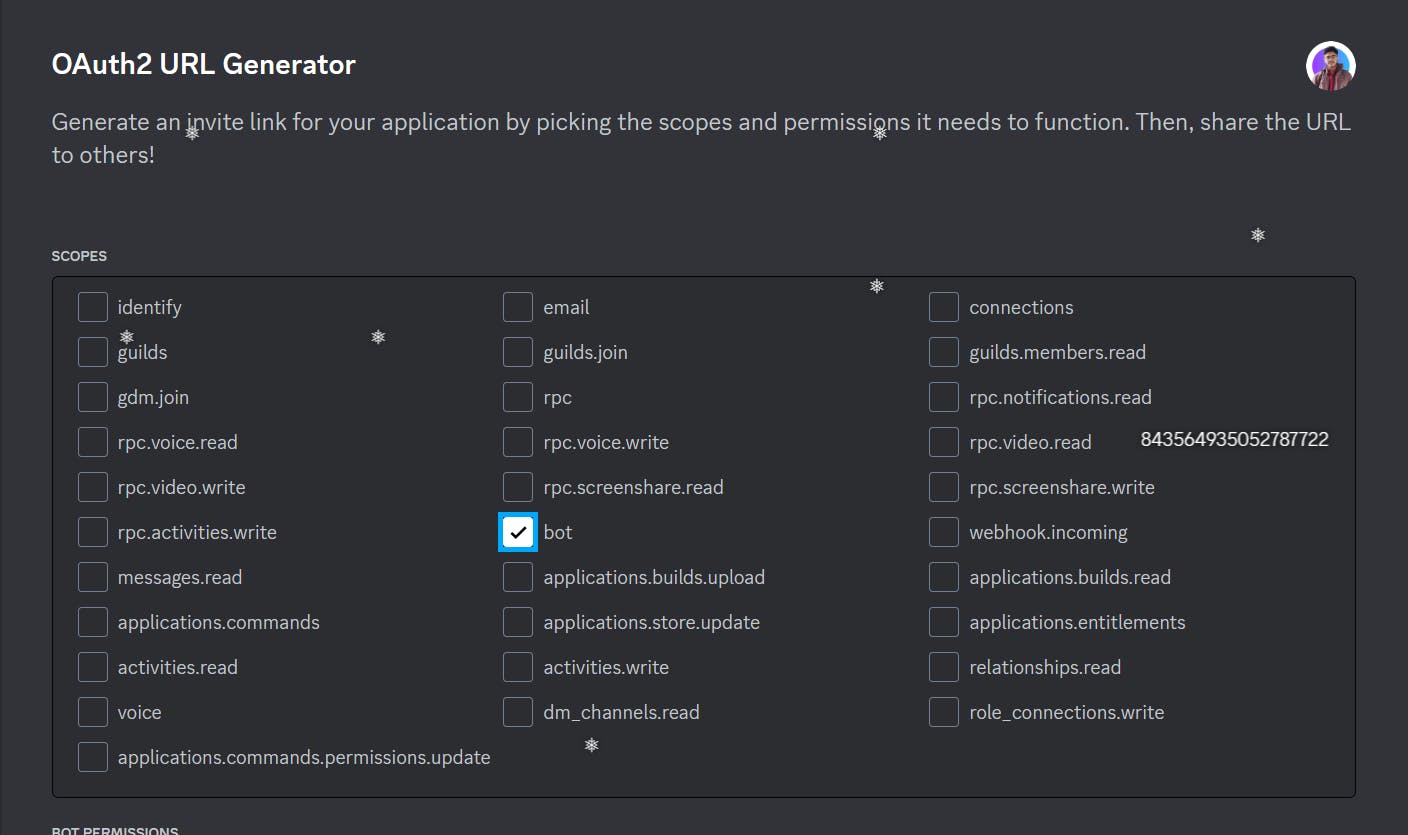
Also, we can decide which permission we are going to give to the bot. For this example, I'm giving the Administrator permission to it.

Then It will generate a URL like this : https://discord.com/api/oauth2/authorize?client_id=11216324252454&permissions=8&scope=bot
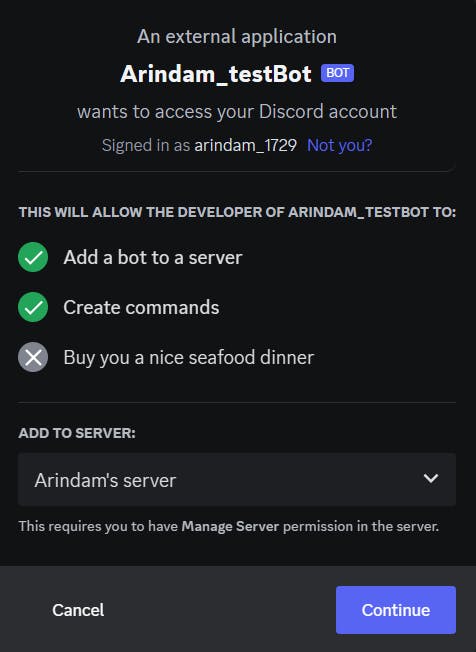
After Going to that Link We'll have to select the server where we want to add the Bot to. In this case, We'll add that to the newly created server.

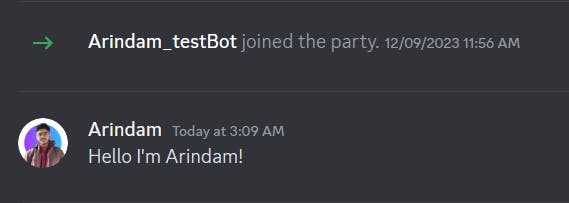
And That's it! We have set up our bot and added it to our Server!
Now, Let's move to the Project Setup part!
Project Setup:
In this section, we'll set up a basic coding environment for our Project.
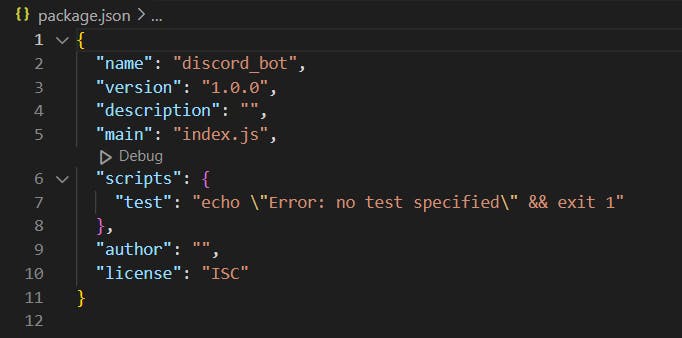
To kick things off, we'll initialize a Node.js project.
npm init
This will create a package.json file like this:
Now, We'll create a file named config.json to store our bot’s authentication token. Then add the following code to the config file.
//config.json
{
    "BOT_TOKEN": "YOUR BOT TOKEN"
}
Replace the YOUR BOT TOKEN with your token that we have generated before.
To interact with the bot we'll use a package called Discord.js.We'll install discord.js through npm with the following command:
npm install discord.js
Now we have set up the configuration file and installed the basic dependencies. Let's move to the next step!
So, To work with the Discord bot we need to log in as a Discord bot! For that, we'll be taking the bot token and adding that to the config.json file.
Now we'll start coding the Discord bot using Discord.js!
In the index.js file At first, we'll require the Discord package that we have just installed and Create a new client.
const { Client, GatewayIntentBits } = require("discord.js");
const client = new Client({
  intents: [
    GatewayIntentBits.Guilds,
    GatewayIntentBits.GuildMessages,
    GatewayIntentBits.MessageContent,
  ],
});
Here We have created our virtual client with which we'll interact with our server. The intents represent the permissions that we are giving to it. To know more about Gateway intent check this doc.
Also, We have to turn on this setting to give the bot access to send messages to the server.
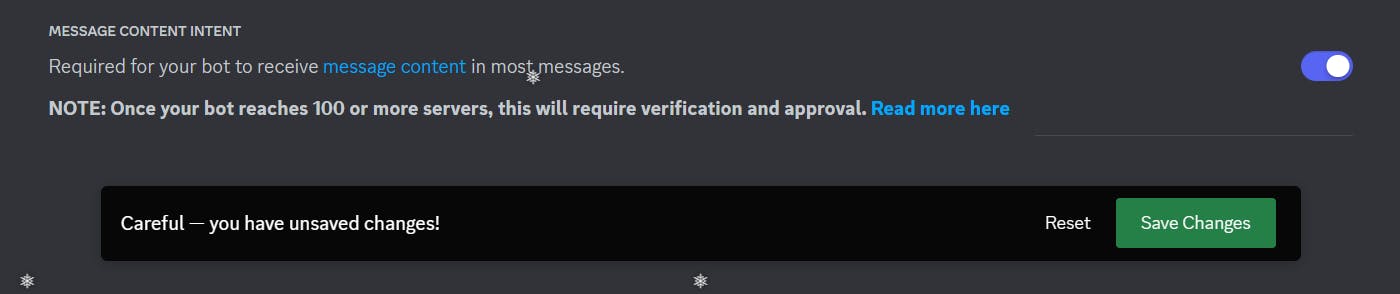
So, Our bot has access to the guilds, writing messages, and reading the content of the messages!
client.on("messageCreate", function (message) {
  console.log(message.content);
});
Here, When a message is created this callback function will trigger and will log the message.content.
We also have to log in using the Token we kept in the config.json file.
const config = require("./config.json");

client.login(config.BOT_TOKEN);
So, Let's check how it works by starting our server! We'll write a message and see if it logs the message or not!
Now, Let's see the Terminal!

Oh Wow! It's Working!! So we have created our very basic discord bot functionality!
In the next section, we'll see some advanced functionality implementations!
Adding Functionality:
In the previous section, we created a basic Discord bot! Now, It's time to add some functionalities to it!
Excited??
- Me Too!!

Replying to a Message:
Now instead of just logging the message in the console, we'll reply to a message!
So let's update the code to this:
client.on("messageCreate", function (message) {
  message.reply({ content: "Hello From Bot" });
});
Let's start the server again and see what happens!
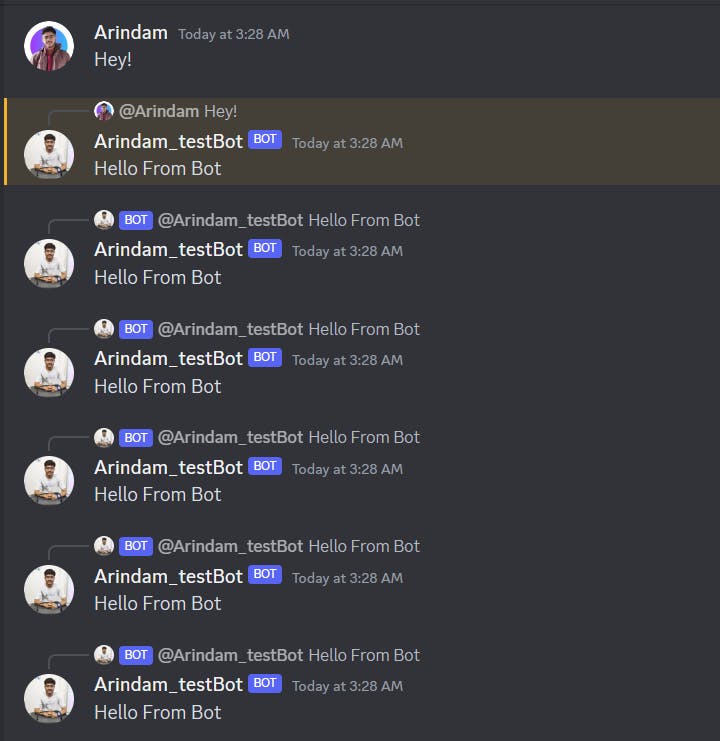
It works! But there's a problem! It replies to its own messages and creates an infinite loop!
To Stop that, we have to add one check to that! The updated code will be:
client.on("messageCreate", function (message) {
  if (message.author.bot) return;
  message.reply({ content: "Hello From Bot" });
});
This line checks if the author of the message is a bot, and if so, stops processing the command. Let's see that:
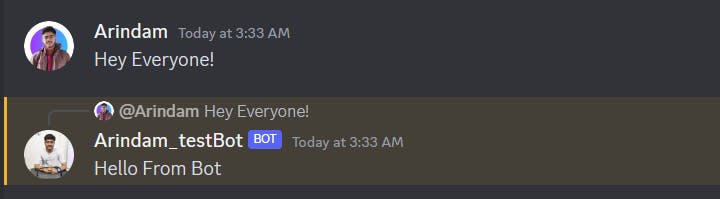
Okay So Now, it's working perfectly! That's Great Let's add some more functionalities!
Creating Slash Commands:
Now we'll create a slash command. It is pretty straightforward.
Here, we'll import Rest, Routes from the discord.js and create a Rest client using the Token we have created before.
const { REST, Routes } = require("discord.js");
const config = require("./config.json");

const rest = new REST({ version: "10" }).setToken(config.BOT_TOKEN);
Now we will create our command and handle it.
const commands = [
  {
    name: 'describe',
    description: 'Gives info about Arindam',
  },
];

try {
  console.log("Started refreshing application (/) commands.");

  await rest.put(Routes.applicationCommands(CLIENT_ID), { body: commands });

  console.log("Successfully reloaded application (/) commands.");
} catch (error) {
  console.error(error);
}
We will get the Client Id from the OAuth
So Basically this function will register our newly created command.
Let's start our server and see if it's registered or not!

It's Working! Great! So we have registered our command.
Now we'll add functionalities to it.
client.on('interactionCreate', async interaction => {
  if (!interaction.isChatInputCommand()) return;

  if (interaction.commandName === 'describe') {
    await interaction.reply('Arindam is a Technical Writer');
  }
});
Normal messages are handled by "messageCreate" and the interactions/ Slash commands are handled by 'interactionCreate'.
This will reply back with 'Arindam is a Technical Writer' when we will trigger the command.
So, Let's see if it's really working or not!

And Yesss...It's Working!
Now, With this, You can also create your own customised Discord Bot!
For Reference, You can check the Code Here:
Conclusion:
If you found this blog post helpful, please consider sharing it with others who might benefit. You can also follow me for more content on Javascript, React, and other web Development topics.
For Paid collaboration mail me at : arindammajumder2020@gmail.com
Connect with me on Twitter, LinkedIn, Youtube and GitHub.
Thank you for Reading :)