
Authenticate your React App with Appwrite
Step-by-Step guide to User Authentication with Appwrite


Introduction
User authentication is a crucial aspect of modern web applications. Implementing user authentication from scratch is not an easy task. However, With Appwrite we can easily perform user Authentication.
In this article, We'll explore How to implement User Authentication using Appwrite in our React App.
So, Without delaying further, Let's Start!
What is Appwrite?
![]()
Before Jumping on the Auth Implementation let's understand what is Appwrite!
Appwrite is an open-source, self-hosted BaaS that provides a set of APIs to handle common backend needs like user authentication, file storage, databases, etc.
It aims to help developers build applications faster and more securely by abstracting away these backend tasks.
Project Setup:
For this article, I'm using a starter template from Dennis Ivy. But, you can apply the same techniques to your own project.
Here's the link to the starter template.
After cloning this code, Just run npm install and That's it!
You can check if it's working or not by Running the following command
npm run dev
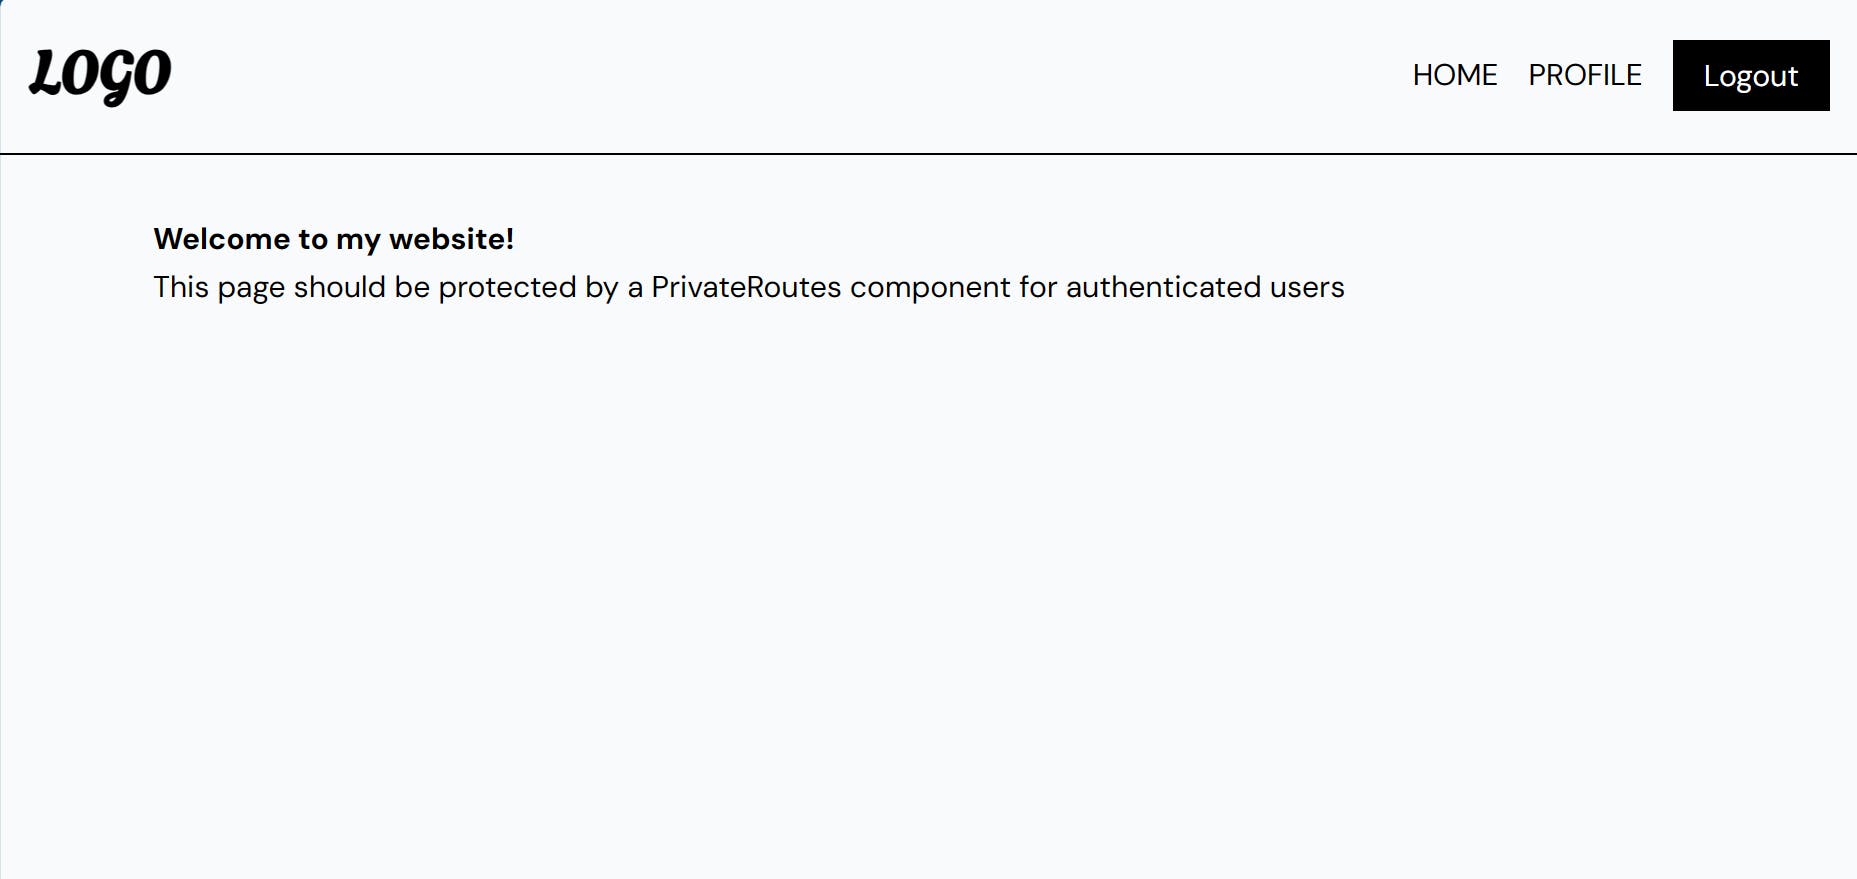
It will show something like this!
Appwrite Console Setup:
Firstly, we'll set up and configure the Appwrite console for our project!
At first, Go to the Appwrite Console.
After Creating your account, Create a New Project.
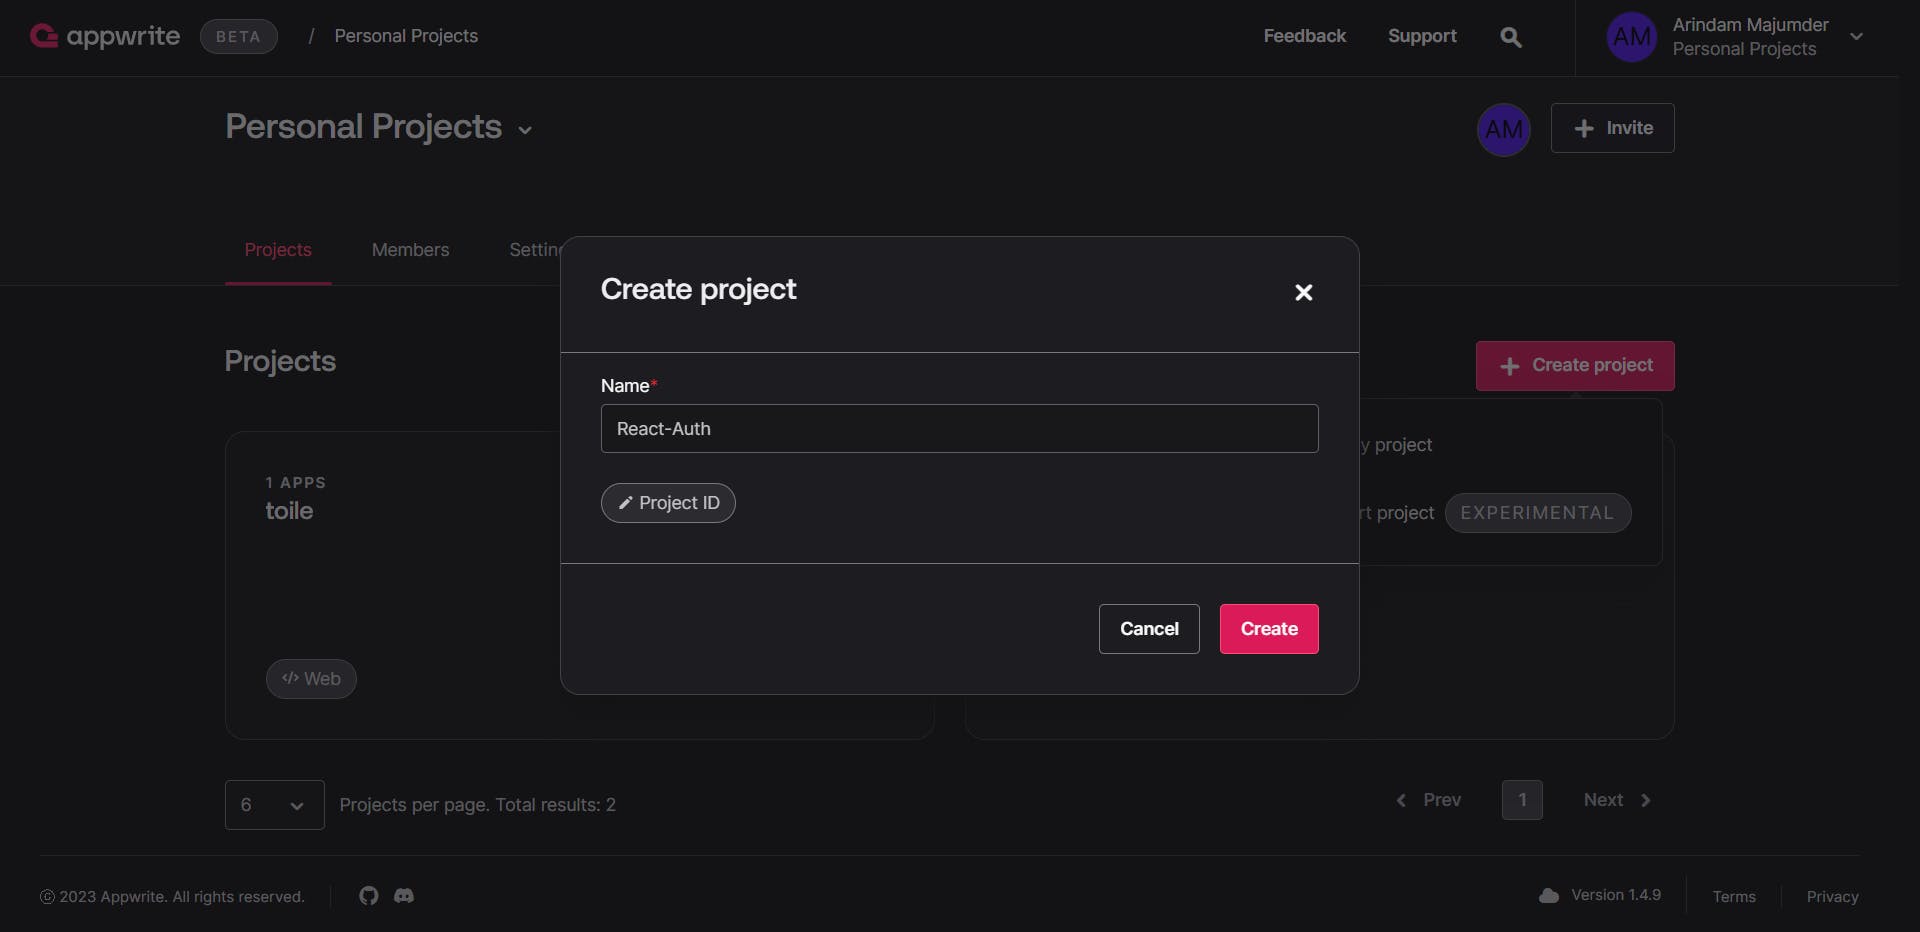
Here I'm creating One Project named "React-Auth". Now You have to choose Web as we'll be working on a Web App.

After That, We'll Add the name of our Web app and the hostname!
Now, We'll install the Appwrite SDK using the following command:
npm install appwrite
So, We have installed Appwrite SDK. Next, We'll Add Appwrite to our project. For that, We'll create a appwriteConfig.js file in the src directory.
//src/appwriteConfig.js

import { Client, Account } from 'appwrite';

export const API_ENDPOINT = 'https://cloud.appwrite.io/v1'
export const PROJECT_ID = 'YOUR PROJECT ID' //Replace this with your project ID

const client = new Client()
    .setEndpoint(API_ENDPOINT)
    .setProject(PROJECT_ID);

export const account = new Account(client);

export default client;
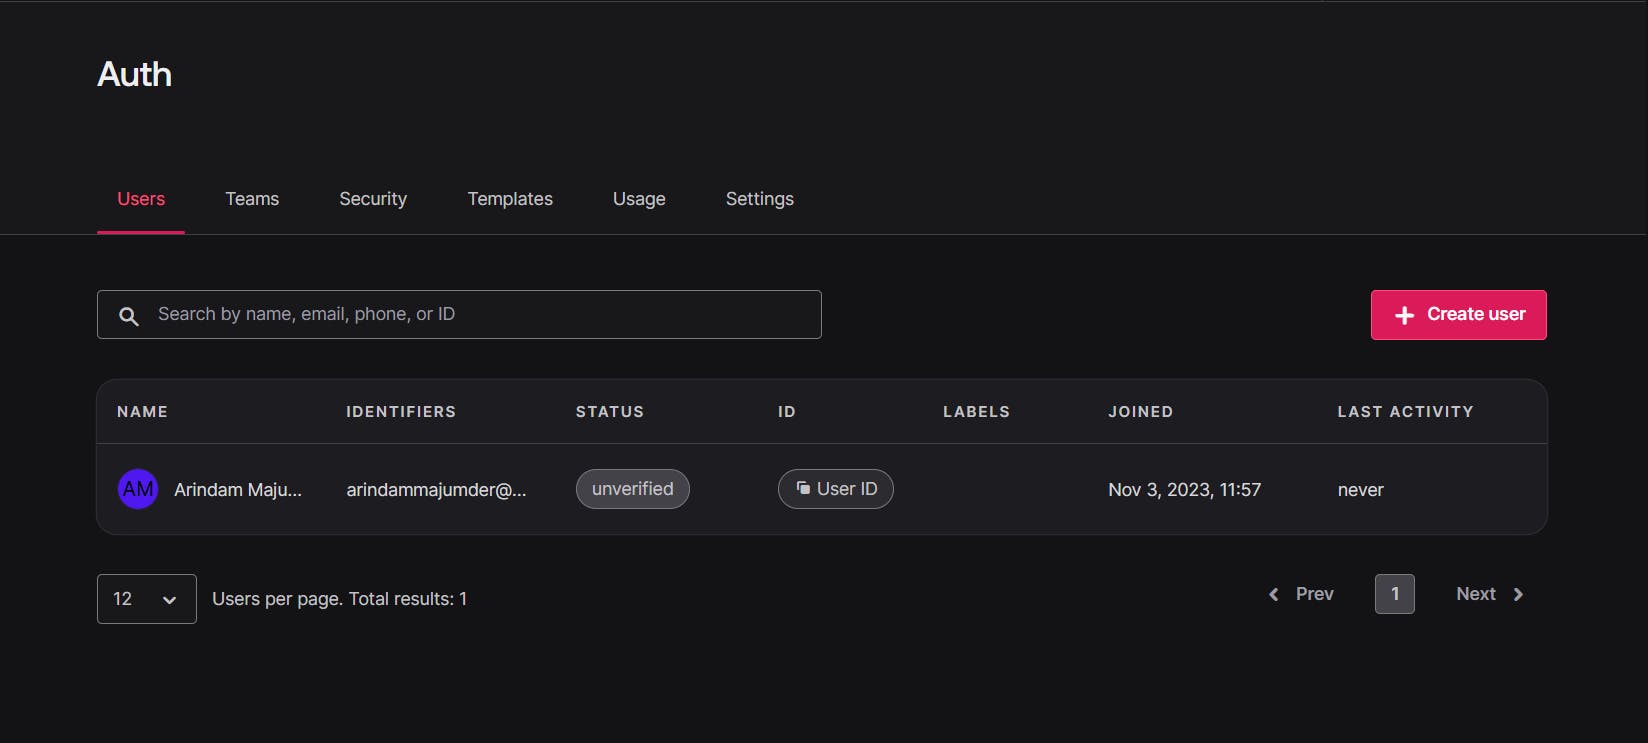
Lastly, We'll manually create a user from the Appwrite console. After Creating the user, Your console should look like this:
Okay! So We have set up & configured the Appwrite Console. Now let's move to the Main Section!
Authentication:
In this section, we'll do the authentication!
For that, we'll create a AuthContext.jsx file to manage the Auth state and different functions.
Here's the code for that:
//utils/AuthContext.jsx
import { createContext, useState, useEffect, useContext } from "react";

const AuthContext = createContext()

export const AuthProvider = ({children}) => {

        const [loading, setLoading] = useState(true)
        const [user, setUser] = useState(null)

        useEffect(() => {
            setLoading(false)
         }, [])

         const loginUser = async (userInfo) => {}

         const logoutUser = async () => {}

         const registerUser = async (userInfo) => {}

         const checkUserStatus = async () => {}

        const contextData = {
            user,
            loginUser,
            logoutUser,
            registerUser
        }

    return(
        <AuthContext.Provider value={contextData}>
            {loading ? <p>Loading...</p> : children}
        </AuthContext.Provider>
    )
}

//Custom Hook
export const useAuth = ()=> {return useContext(AuthContext)}

export default AuthContext;
Here we have created AuthContext to manage the user auth state and some Functions for user authentication. Currently, these functions are empty! We'll add those in the later steps!
The AuthProvider component wraps the entire application with the authentication context
We have also created a custom hook useAuth to access this context.
Next, We will wrap the routes in App.jsx with AuthProvider.
The Code will look like this:
...
import { AuthProvider } from './utils/AuthContext'

function App() {
    return (
        <Router>
            <AuthProvider>
                <Header/>
                <Routes>
                    ...
                </Routes>
            </AuthProvider>
        </Router>
    );
}
User Sign Up:
Till now, We have created the Auth functions and done the basic setup! Now we'll register/sign up our user.
For that, At first, we'll Import registerUser from AuthContext.jsx that we have created before.
//pages/Register.jsx
import { useAuth } from '../utils/AuthContext'
..
const {registerUser} = useAuth()
Next, We'll handle the form submission with Submithandler and ref.
Here's the code for that:
import React, { useEffect, useRef } from 'react'
...
const registerForm = useRef(null)

const handleSubmit = (e) => {
    e.preventDefault()
    // Taking the values from the form
    const name = registerForm.current.name.value
    const email = registerForm.current.email.value
    const password1 = registerForm.current.password1.value
    const password2 = registerForm.current.password2.value
    //Password validation
    if(password1 !== password2){
        alert('Passwords did not match!')
        return
    }

    const userInfo = {name, email, password1, password2}

    registerUser(userInfo)
}

...

<form ref={registerForm} onSubmit={handleSubmit}>
Here we have also added one check for the password confirmation, which will throw an alert if the passwords are not the same!
After that, we have taken all the values in an object (userInfo) and passed that to registerUser function that we have imported from AuthContext.jsx.
Finally, We will handle the Registration in the AuthContext.jsx where we have already created an empty registerUser function. Now we'll add functionalities to that!
So Now we'll add this to AuthContext.jsx :
//AuthContext.jsx
import { useNavigate } from "react-router-dom";
import { ID} from 'appwrite';

...
const navigate = useNavigate()

const registerUser = async (userInfo) => {
    setLoading(true)
    try{
        let response = await account.create(ID.unique(), userInfo.email, userInfo.password1, userInfo.name);
        await account.createEmailSession(userInfo.email, userInfo.password1)
        let accountDetails = await account.get();
        setUser(accountDetails)
        navigate('/')
    }catch(error){
        console.error(error)
    }
    setLoading(false)
}
Cool! Now we have done the registration part! Now we can register new users.
User Login:
Now, We'll work on the Login part! It's quite straightforward!
Firstly, we'll Import the User login Function from AuthContext.
//pages/login.jsx
import { useAuth } from '../utils/AuthContext'
...

const {user, loginUser} = useAuth()
Next, Just like Signup, We'll handle the form submission with Submithandler and ref.
//Import useRef
import React, { useEffect, useRef } from 'react'

//Add loginForm ref
const loginForm = useRef(null)

//Form submit handler
  const handleSubmit = (e) => {
    e.preventDefault()
    const email = loginForm.current.email.value
    const password = loginForm.current.password.value

    const userInfo = {email, password}

    loginUser(userInfo)
  }

//Add ref and submit function to form
<form onSubmit={handleSubmit} ref={loginForm}>
After that, we'll Import account from appwriteConfig and add functionality to the loginUser method.
//utils/AuthContext.jsx
...
import { account } from "../appwriteConfig";
...
const loginUser = async (userInfo) => {
    setLoading(true)
    try{
        let response = await account.createEmailSession(userInfo.email, userInfo.password)
        let accountDetails = await account.get();
        setUser(accountDetails)
    }catch(error){
        console.error(error)
    }
    setLoading(false)
}
As simple as that! We have done the Login part! Now we can LogIn our user!
Checking User Status:
We can check the user status by calling the checkUserStatus method. It will now update the user and loading state from the useEffect hook.
//utils/AuthContext.jsx
useEffect(() => {
    //setLoading(false)
    checkUserStatus()
}, [])
const checkUserStatus = async () => {
    try{
        let accountDetails = await account.get();
        setUser(accountDetails)
    }catch(error){
    }
    setLoading(false)
}
User LogOut:
So, We have done SignUp and LogIn methods! Now we'll add the final part of our Authentication which is Logout!
It's very easy!
//components/Header.jsx
const {user, logoutUser} = useAuth()

//trigger the logoutUser method
<button onClick={logoutUser} className="btn">Logout</button>
For logging out the user we will use account.deleteSession method. It will delete the current session of the user.
//utils/AuthContext.jsx
const logoutUser = async () => {
    await account.deleteSession('current');
    setUser(null)
}
And That's it! We have Completed our Authentication part!
Now, you can follow the same steps to authenticate your React app with Appwrite.
Easy peasy!
Conclusion
If you found this blog post helpful, please consider sharing it with others who might benefit. You can also follow me for more content on Javascript, React, and other web Development topics.
For Paid collaboration mail me at : arindammajumder2020@gmail.com
Connect with me on Twitter, LinkedIn, Youtube and GitHub.
Thank you for Reading :)