Add Tweets to Your React App using react-tweet
Embed tweets into your React application without sacrificing performance.


Introduction
We, Developers, always try to create engaging & user-friendly web apps. One popular feature that makes our web apps engaging is embedding tweets. Previously it wasn't that easy! But now with react-tweet, we can embed tweets very easily!
In this article, we'll see how to embed tweets in our React component using one line of code.
Sounds Interesting Right?
So Without Delaying further! Let's START!
What is react-tweet?
react-tweet is a npm package released by Vercel ▲ . With this package, we can embed a Tweet in our Web app with just one line of code. It also lets us render the tweet in light and dark modes, customize its design, and do so much more.
Why to Use react-tweet?
Before react-tweet, To embed a tweet in our project we have to iframes. But it wasn't efficient enough and used to decrease the performance of our web apps.
Also, iframes used to load additional client-side JavaScript aren't always necessary and it used to increase the load time of our Web apps.
To solve this problem Vercel ▲ created this amazing npm package! With react-tweet, it is super easy to put tweets on our website without making it slow. And We don't even need to use the Twitter API which is paid!
Benefits of react-tweet:
The benefits of using this package are the following:
The element uses 35x less JavaScript than Twitter’s element
It works with React server components, so you can fetch the tweets on the server
It also works with Next.js, Vite, Create React App, and more
Installation:
The installation of react-tweet is really easy. Run the following command you are ready to go:
npm i react-tweet
Now the installation & setup is complete! It's time to embed a tweet in a React component.
Embedding a Tweet
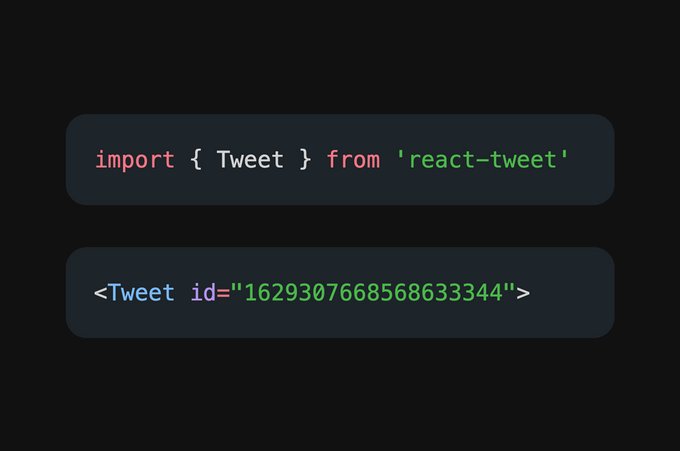
With react-tweet we only need one component to embed a tweet! This component only requires the ID of the tweet that we want to embed.
string: the tweet ID. For example in https://twitter.com/Arindam_1729/status/1680555380416577536the tweet ID is 1680555380416577536.Here's an example of the card:
import {Tweet} from 'react-tweet'

export default function TweetCard() {
    return <Tweet id="1680555380416577536" />
}
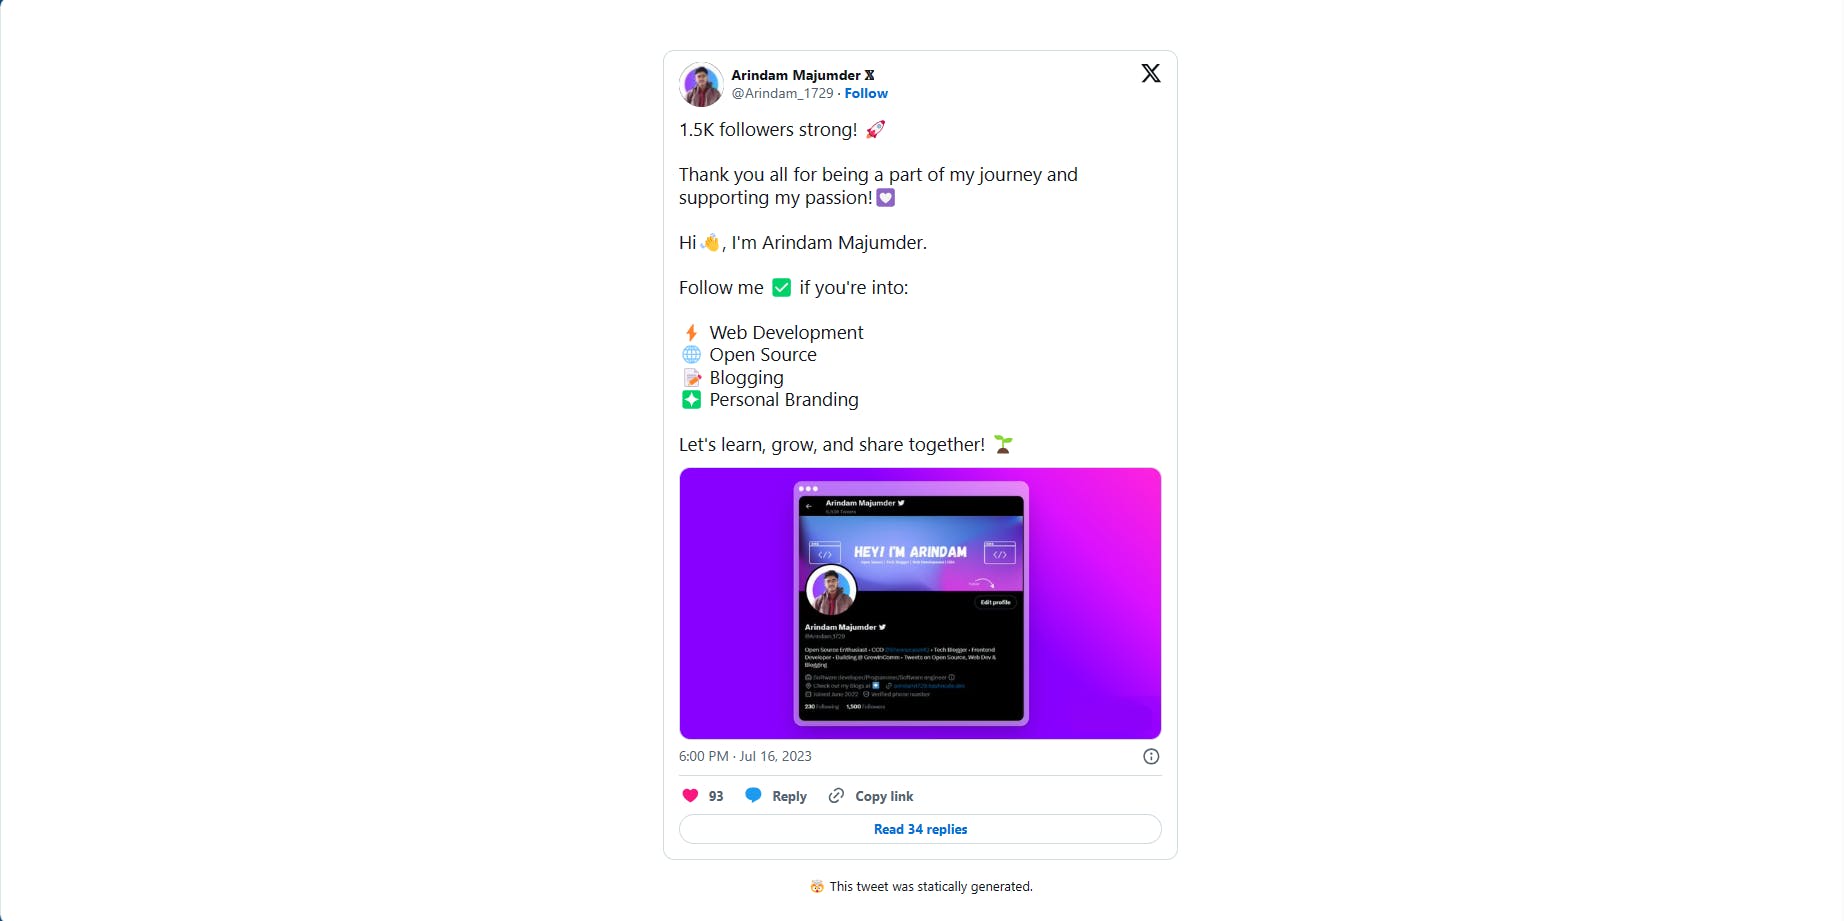
It's that simple!
Here's the result:
Changing Themes:
Changing Themes is as simple as the installation process!
We just need to add the data-theme="dark" attribute to the parent div of the component! Alternatively,we can a parent div with the class light or dark to change the theme!
Now the code is:
import {Tweet} from 'react-tweet'

export default function TweetCard() {
    return (
      <div className="dark">
        <Tweet id="1680555380416577536"/>
      </div>
  );
}
Here's the Result:
Customize the Tweet
But react-tweet doesn't stop here! It also gives us access to customise the tweet according to our requirements! I like this feature a lot!
Under the Hood, It uses other child components like <TweetContainer />, <TweetHeader />, <TweetBody />, <TweetMedia />, and so on. We can customise those child components according to our preferences.
Suppose In our Next.js Project we want to replace the <img /> tag of the tweet avatar and media with Next.js’ built-in Image component.
To do so We need to create another component and
// tweet-components.jsx
import Image from 'next/image'

export const components = {
  AvatarImg: (props) => <Image {...props} />,
  MediaImg: (props) => <Image {...props} fill unoptimized />,
}
This basically updates the “TwitterComponents” component to use the Next.js built-in Image component for avatar and media images.
Now in our Main App, we'll import and pass the components in the embedded Tweet.
import {Tweet} from 'react-tweet'
import { components } from './tweet-components';

export default function TweetCard() {
    return (
      <div className="dark">
        <Tweet id="1680555380416577536" components={components}/>
      </div>
  );
}
That's it! It's that Simple!
If you want to customise more, you can check this.
Conclusion
If you found this blog post helpful, please consider sharing it with others who might benefit. You can also follow me for more content on Javascript, React, and other web Development topics.
For Paid collaboration mail me at : arindammajumder2020@gmail.com
Connect with me on Twitter, LinkedIn, Youtube and GitHub.
Thank you for Reading :)